
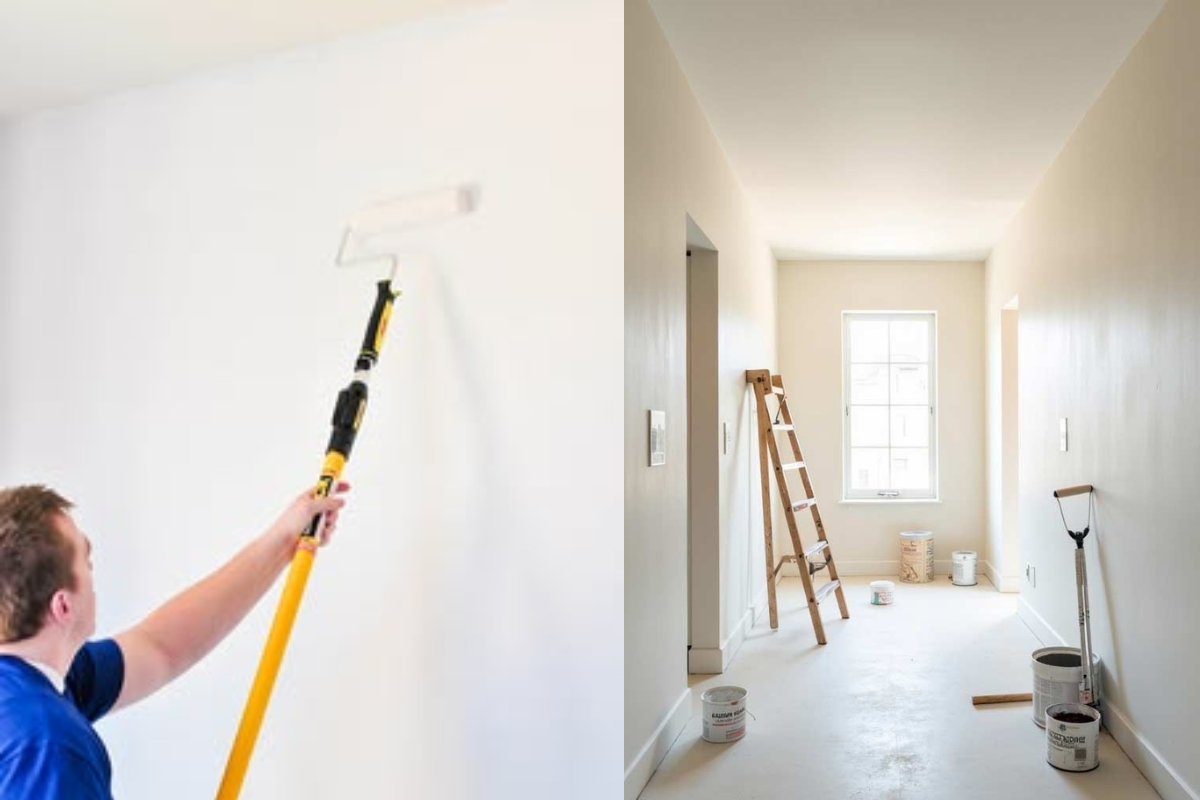
Learning how to paint a room is one of the most rewarding home improvement projects you can take on. A fresh coat of paint can completely change the look and feel of a space, making it brighter, cleaner, and more welcoming without the cost of a major renovation. Whether you want to refresh a bedroom, update your living room, or give your home office a new style, painting is a practical project that most homeowners can complete with the right preparation.
Many people think that the actual painting is the hardest part, but the truth is that preparation has a much bigger impact on the final result. Cleaning the walls, repairing small imperfections, protecting furniture, and choosing the right materials all help create a smooth, even finish. Skipping these steps often leads to uneven coverage, peeling paint, or extra work later.
This guide explains how to paint a room from start to finish in a simple and easy-to-follow way. You’ll learn how to plan your project, choose the right paint, prepare your room, apply paint correctly, and finish the job with professional-looking results.
Whether you’re painting for the first time or you’re a DIY homeowner looking to improve your technique, this step-by-step guide will help you complete your project with confidence and achieve a finish that lasts for years.
Plan Your Room Painting Project
A successful painting project begins with careful planning. Before opening a paint can, decide which room you want to paint and think about how the new color will work with your furniture, flooring, lighting, and overall home style.
Measure your walls so you can estimate how much paint you’ll need. Buying the correct amount helps prevent unnecessary trips to the store while reducing waste. It’s also helpful to choose a time when the room can remain unused for at least a day or two, allowing the paint to dry properly.
Planning also includes checking the weather if you need to keep windows open for ventilation. A well-organized project saves time and helps you work more efficiently from beginning to end.
Gather the Essential Painting Tools and Materials
Using the right tools makes painting easier and produces better results. High-quality brushes and rollers create smoother coverage and reduce visible brush marks. Paint trays, extension poles, painter’s tape, drop cloths, stir sticks, and a sturdy ladder are also useful for most projects.
Keep cleaning supplies nearby, including damp cloths for small spills and warm water if you’re using water-based paint. Having everything prepared before you begin prevents interruptions and allows you to focus on painting instead of searching for missing supplies.
Quality tools may cost slightly more at first, but they often last longer and contribute to a cleaner, more professional finish.
Choose the Right Paint for Your Room
Selecting the right paint is just as important as choosing the right color. Different rooms have different needs depending on moisture, daily use, and cleaning requirements.
For bedrooms and living rooms, standard interior wall paint usually works well. Bathrooms, kitchens, and laundry rooms often benefit from paints designed to resist moisture and mildew. If children or pets are part of your household, choosing a paint that can be cleaned easily may be a practical option.
Before making your final decision, test a few paint samples on the wall. Colors often appear different depending on natural sunlight and indoor lighting throughout the day.
Select the Best Paint Finish for Different Surfaces
Paint finish affects both the appearance and durability of your walls. Flat or matte finishes hide small imperfections well and create a soft, modern appearance, making them suitable for many bedrooms and ceilings.
Eggshell and satin finishes offer a slight sheen while remaining easy to clean, making them popular choices for living rooms, hallways, and dining areas.
Semi-gloss and gloss finishes are more reflective and highly durable. These finishes are commonly used on trim, doors, cabinets, and other surfaces that experience frequent contact or require regular cleaning.
Choosing the right finish helps your freshly painted room remain attractive for a longer period.
Prepare the Room Before You Start Painting
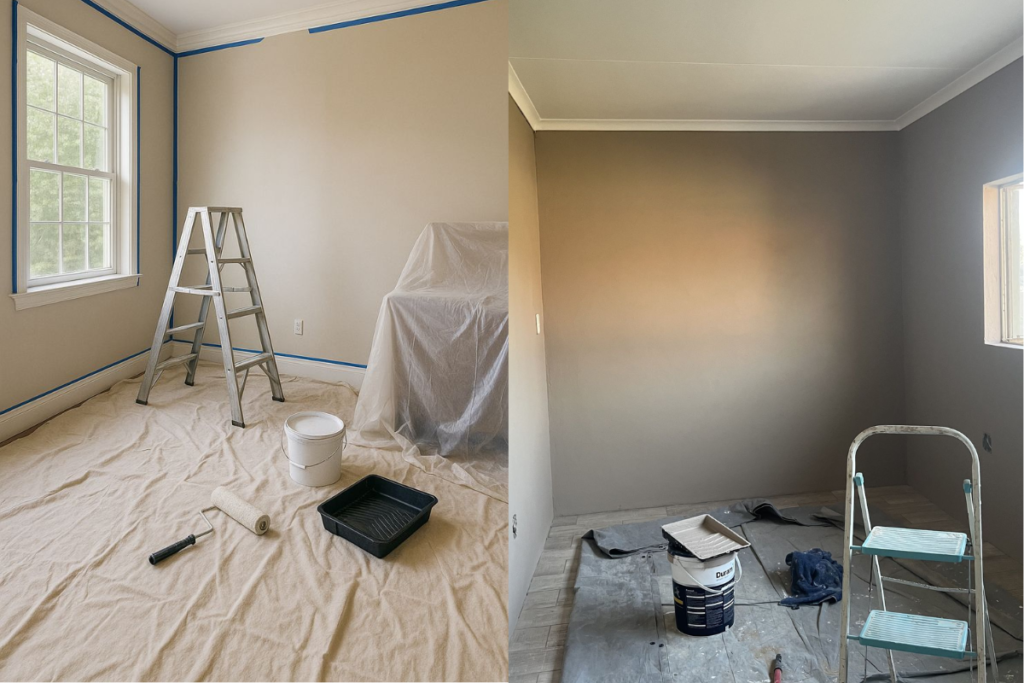
Preparing the room properly creates a safer workspace and protects your belongings from accidental paint splatters.
Remove as much furniture as possible. Larger pieces can be moved to the center of the room and covered securely with protective sheets. Take down artwork, curtains, mirrors, shelves, outlet covers, and switch plates before painting.
Good lighting makes it easier to spot missed areas while painting. Opening windows improves airflow and helps reduce paint odors during and after the project.
Taking time to organize the room before you begin allows the painting process to move more smoothly.
Repair and Prepare the Walls for a Smooth Finish
Even the highest-quality paint cannot hide damaged walls. Carefully inspect every wall for nail holes, cracks, dents, or peeling paint before you start.
Fill small holes with wall filler and allow it to dry completely before sanding the surface until it feels smooth. Remove loose paint and lightly sand glossy areas so the new paint can bond properly.
Cleaning the walls is another important step. Dust, grease, and fingerprints may prevent paint from adhering evenly. Washing the walls with a mild cleaning solution and allowing them to dry creates a clean surface that improves the final appearance.
Proper wall preparation is one of the biggest factors in achieving professional-looking results.
Protect Floors, Furniture, and Trim
Paint splatters are difficult to remove once they dry, so protecting your room before painting is essential.
Cover floors with drop cloths or protective sheets that stay securely in place while you work. Plastic coverings may be useful for furniture, while reusable fabric drop cloths often provide better protection for flooring because they absorb small drips instead of allowing them to spread.
Take a few extra minutes to secure coverings properly. This simple step can save hours of cleaning later.
Apply Painter’s Tape the Right Way
Painter’s tape helps create clean, straight edges where different surfaces meet. Apply the tape carefully along trim, windows, baseboards, and door frames, pressing the edges firmly to prevent paint from leaking underneath.
Avoid stretching the tape while applying it. Instead, lay it smoothly along each edge and check that it remains fully attached.
Once the paint becomes dry to the touch but has not completely hardened, carefully remove the tape at an angle to produce crisp, clean paint lines.
Prime the Walls When Needed
Primer is not always required, but it plays an important role in many painting projects. Fresh drywall, repaired surfaces, dark-colored walls, stained areas, and dramatic color changes often benefit from a coat of primer.
Primer improves paint adhesion, creates a more even surface, and helps the final color appear richer and more consistent. It may also reduce the number of paint coats needed, saving both time and materials.
Although it adds an extra step, primer often leads to a stronger and more durable finish.
Paint the Ceiling First
When learning how to paint a room, professionals almost always recommend starting with the ceiling. Since paint can occasionally drip downward, completing the ceiling first prevents accidental splatters from damaging freshly painted walls.
Begin near one corner and work across the ceiling in small sections while maintaining a consistent pattern. Keeping a wet edge helps reduce visible lap marks and creates a more uniform finish.
Allow the ceiling to dry before moving on to the walls.
Cut In Around Edges and Corners
Cutting in means painting areas that a roller cannot easily reach. Use a quality angled brush to paint carefully along the ceiling line, corners, windows, doors, and trim.
Work slowly and avoid overloading the brush with paint. Smooth, controlled strokes create cleaner edges and reduce the need for touch-ups later.
Once all edges have been painted, you can begin rolling the larger wall surfaces while the cut-in paint is still slightly wet for better blending.
Roll Paint on the Walls for Even Coverage
After completing the edges, use a roller to cover the larger wall areas. Load the roller evenly with paint, avoiding excessive amounts that may cause drips or uneven texture.
Work in manageable sections and maintain steady pressure throughout each pass. Overlapping each section slightly helps create consistent coverage while minimizing visible roller marks.
Continue working methodically until every wall has an even coat of paint. Taking your time produces a smoother finish than rushing through the project.
Apply Additional Coats for a Professional Finish
Most rooms require at least two coats of paint to achieve full coverage and consistent color. Even if the first coat appears satisfactory, a second coat often improves both appearance and durability.
Allow each coat to dry according to the manufacturer’s recommendations before applying another. Painting over partially dried paint may lead to streaks or uneven texture.
Inspect the walls from different angles once the second coat has dried. Small touch-ups can be completed before cleaning up your tools.
Paint Trim, Doors, and Baseboards
Once the walls are finished, move on to the trim, doors, and baseboards. These details frame the room and help complete the overall appearance.
Use a smaller brush for greater control and apply smooth, even strokes. Depending on the finish you’ve selected, these surfaces may require additional drying time between coats.
Clean, neatly painted trim provides a polished appearance that complements freshly painted walls.
Let the Paint Dry and Cure Properly
Drying and curing are different stages of the painting process. Paint may feel dry within a few hours, but it often takes several days or even weeks to reach full hardness.
During this period, avoid hanging heavy decorations or moving furniture directly against the walls. Gentle handling helps protect the finish while it fully cures.
Keeping the room well ventilated during drying also improves comfort and helps paint odors disappear more quickly.
Clean Up Your Painting Supplies
Cleaning your equipment immediately after painting extends the life of your brushes and rollers while making future projects easier.
Wash water-based paint from brushes and rollers using warm water and mild soap. Oil-based paints require the appropriate cleaning solution recommended by the manufacturer.
Seal any leftover paint tightly and store it in a cool, dry location for future touch-ups. Labeling each can with the room name and date makes it easier to identify later.
A thorough cleanup leaves your workspace organized and ensures your tools remain in good condition.
Common Room Painting Mistakes to Avoid
Many painting problems result from rushing through important preparation steps. Skipping wall cleaning, ignoring repairs, applying thick coats, or choosing the wrong finish can all affect the final appearance.
Using low-quality tools may leave streaks, loose bristles, or uneven coverage. Failing to allow enough drying time between coats can also reduce durability and create visible imperfections.
Taking a patient, careful approach throughout the project usually produces far better results than trying to finish quickly.
Tips for Keeping Your Newly Painted Room Looking Fresh
After completing your project, a few simple habits can help maintain the appearance of your walls.
Clean marks gently using a soft cloth instead of harsh scrubbing. Address stains early before they become more difficult to remove. Maintain good ventilation in humid areas to reduce moisture buildup that may affect the paint over time.
Keeping a small amount of leftover paint allows you to fix minor scuffs or scratches without repainting the entire room. Regular care helps preserve the fresh appearance of your newly painted space for many years.
Conclusion
Knowing how to paint a room is a valuable skill that can transform your home while saving money on professional decorating services. Although applying paint is an important part of the project, careful preparation, proper tools, and attention to detail have the greatest impact on the final result.
From planning your project and selecting the right paint to preparing the walls, applying smooth coats, and allowing sufficient drying time, every step contributes to a durable, attractive finish. Working patiently and following a consistent process helps prevent common mistakes while creating results you can be proud of.
Whether you’re refreshing a single room or updating your entire home, taking the time to complete each stage carefully will leave you with clean, beautiful walls that continue to look great for years to come.
